My last two table commissions have featured pedestal-style bases—a single column that supports the tabletop from the center rather than 4 legs near the edges. This type of base is great for tables that expand in length, for tables with tilting tops, and for having lots of room for human legs since the support is all in the center. In the case of my recent projects, the pedestal base also offered a fun design opportunity. With all the structure clustered together, I wanted to create bases where the legs and central column flowed together into one seamless, branching form. I imagined bases that reference tree roots, fingers, veins, tributaries, etc. One form splits into several, distributing its strength to a larger area. These are the forms I came up with, and if you keep reading, I’ll describe some of the process. As is always the case with furniture, forms that have no flat or straight references are pretty tricky to manufacture!
Split-pedestal allows the top to separate and expand
A digital process
I’ve always loved making carved furniture. In the past I’ve done this by hand, but with these pieces I did most of the carving with my CNC router. There were several good reasons to use the CNC. The first is that it saved time compared to removing all the material by hand, especially on the legs where the form is repeated several times (design once, cut as many times as you want; that is the way of digital manufacturing). The second is that it freed me to remove many more reference surfaces before assembly since my pieces did not have to interface with the flat beds and fences of traditional equipment. Thirdly, this project really pushed my CNC skills (especially the joinery) and I am always trying to make sure there’s something new to learn in every project I take on.
After sketching out my ideas on paper, the bases were designed using the “form” tool in Autodesk’s Fusion360 software. This type of modeling is excellent for creating smooth, fluid curvature which is exactly what I was after.
Carving
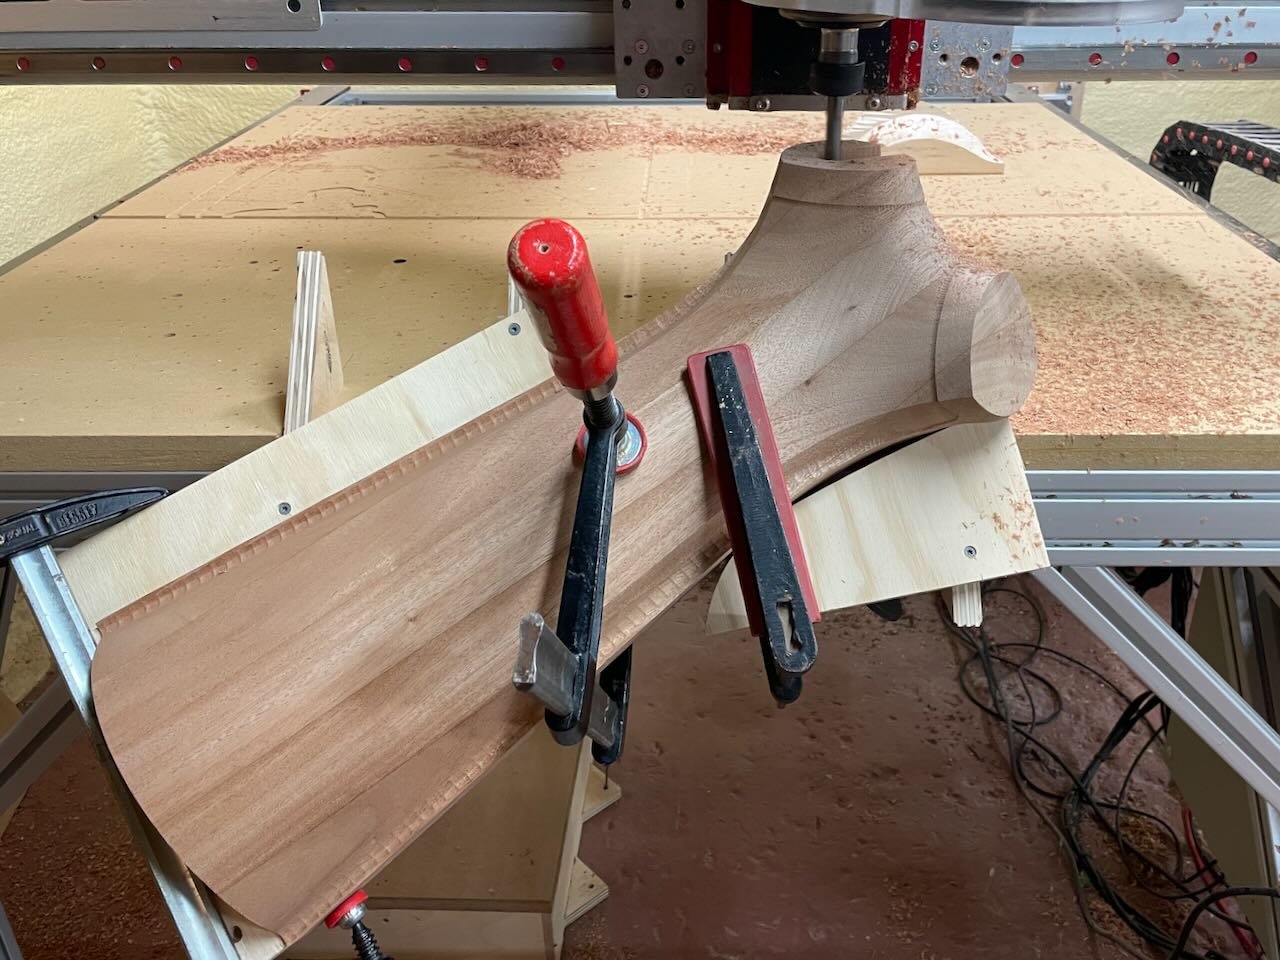
The bases are carved in separate parts: the central column and the “legs” or “branches”. The central column requires a large piece of stock. Luckily I have an extra high Z axis on my CNC router so I could get the spindle up above the stock and still have room for a 4” end mill. The stock is too thick to cut even halfway through from one side, so I had to rotate the it 4 times to carve from all sides. This is a tricky indexing operation that I am able achieve with registration pins. I have to be careful that my toolpath file corresponds with the stock orientation every time or the project will come to a sudden halt. I hope to someday get a rotary axis for this type of work, but for now this system is working well enough.
After carving the columns, I moved on to the legs. They are smaller and can be carved from only two sides. At this time, I am also roughing out the large dovetail that will connect the legs to the column. The dovetail will be manually finished and tuned to final size later when I fit the joinery.
Joinery
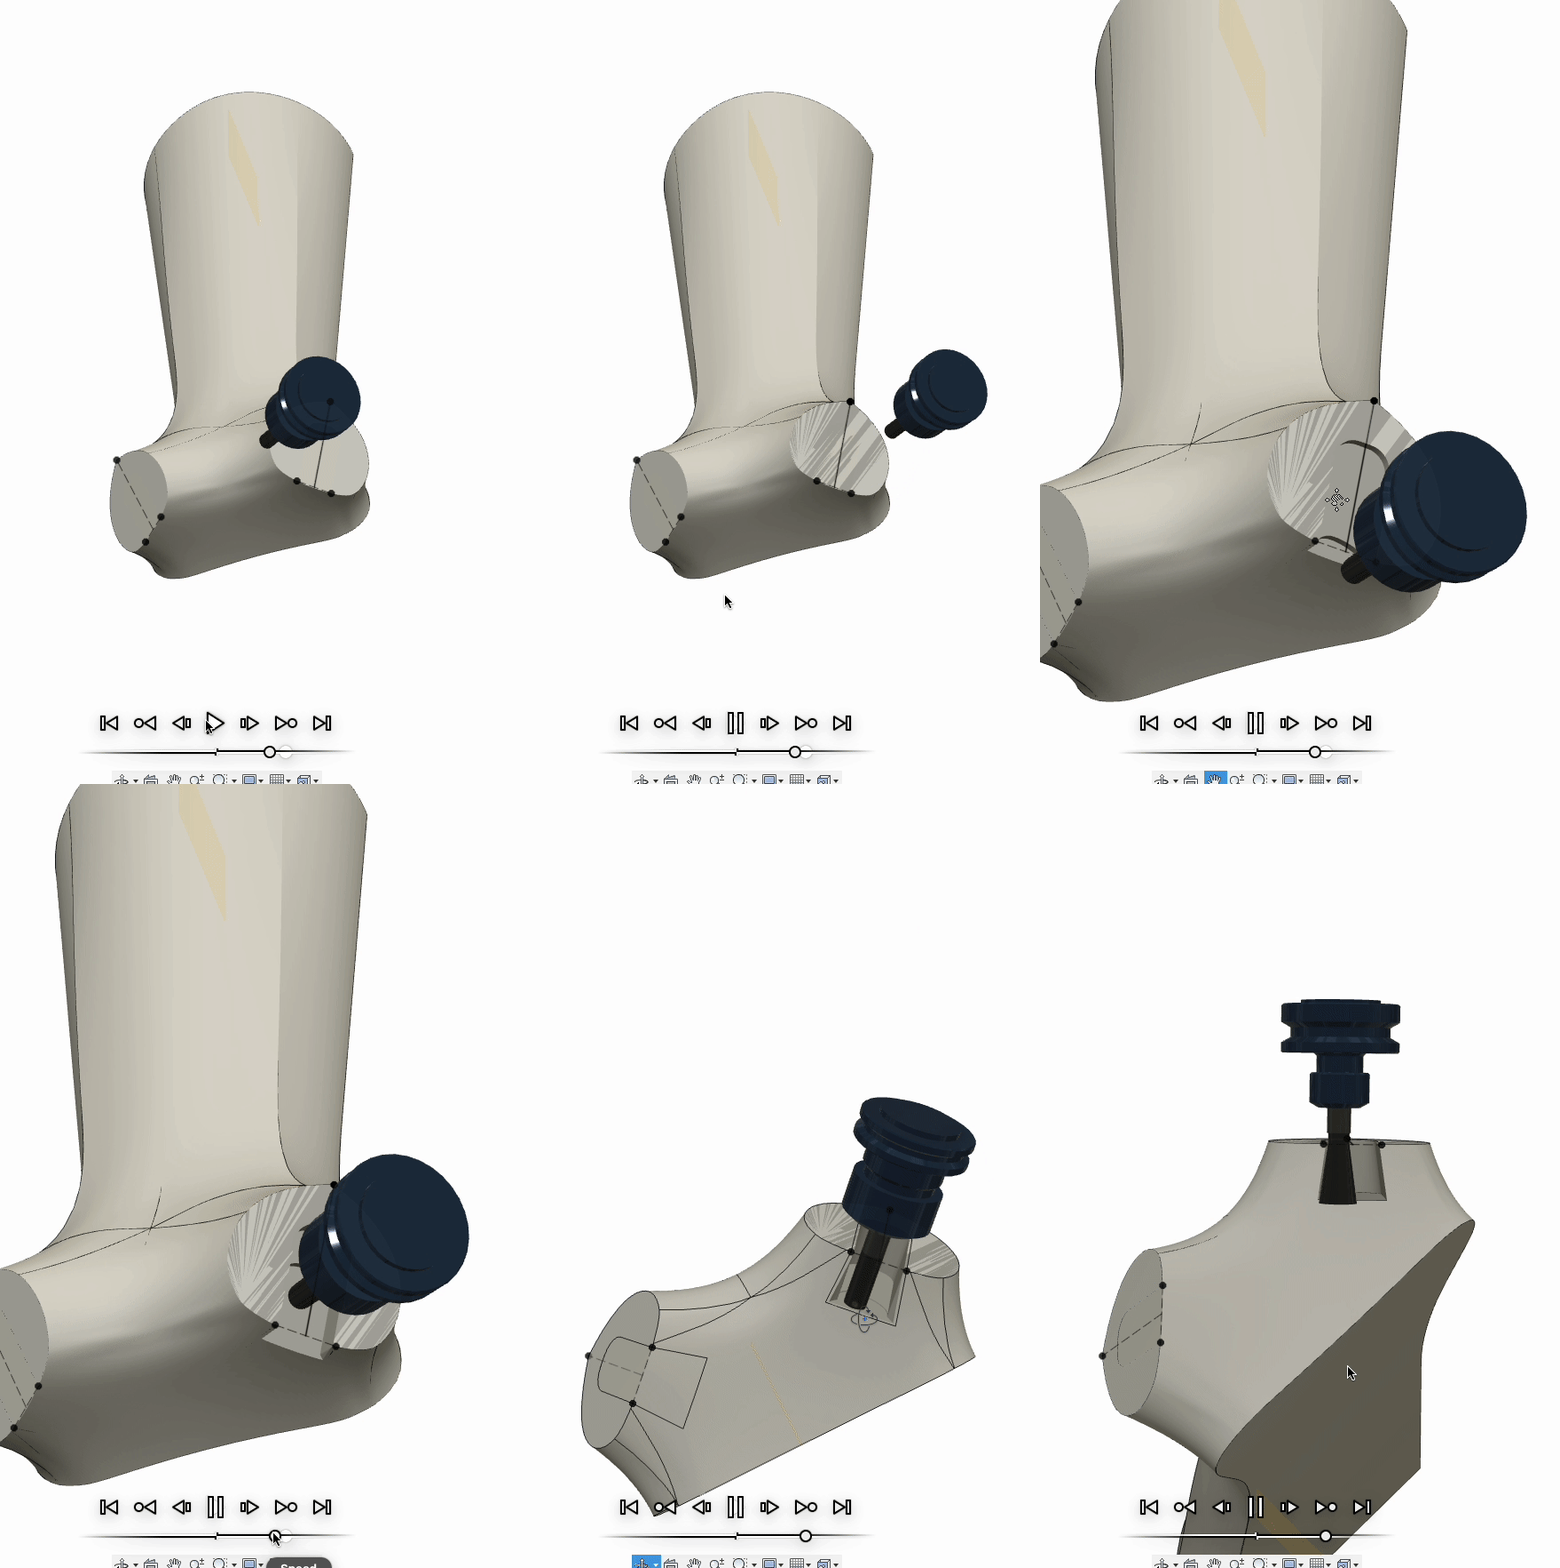
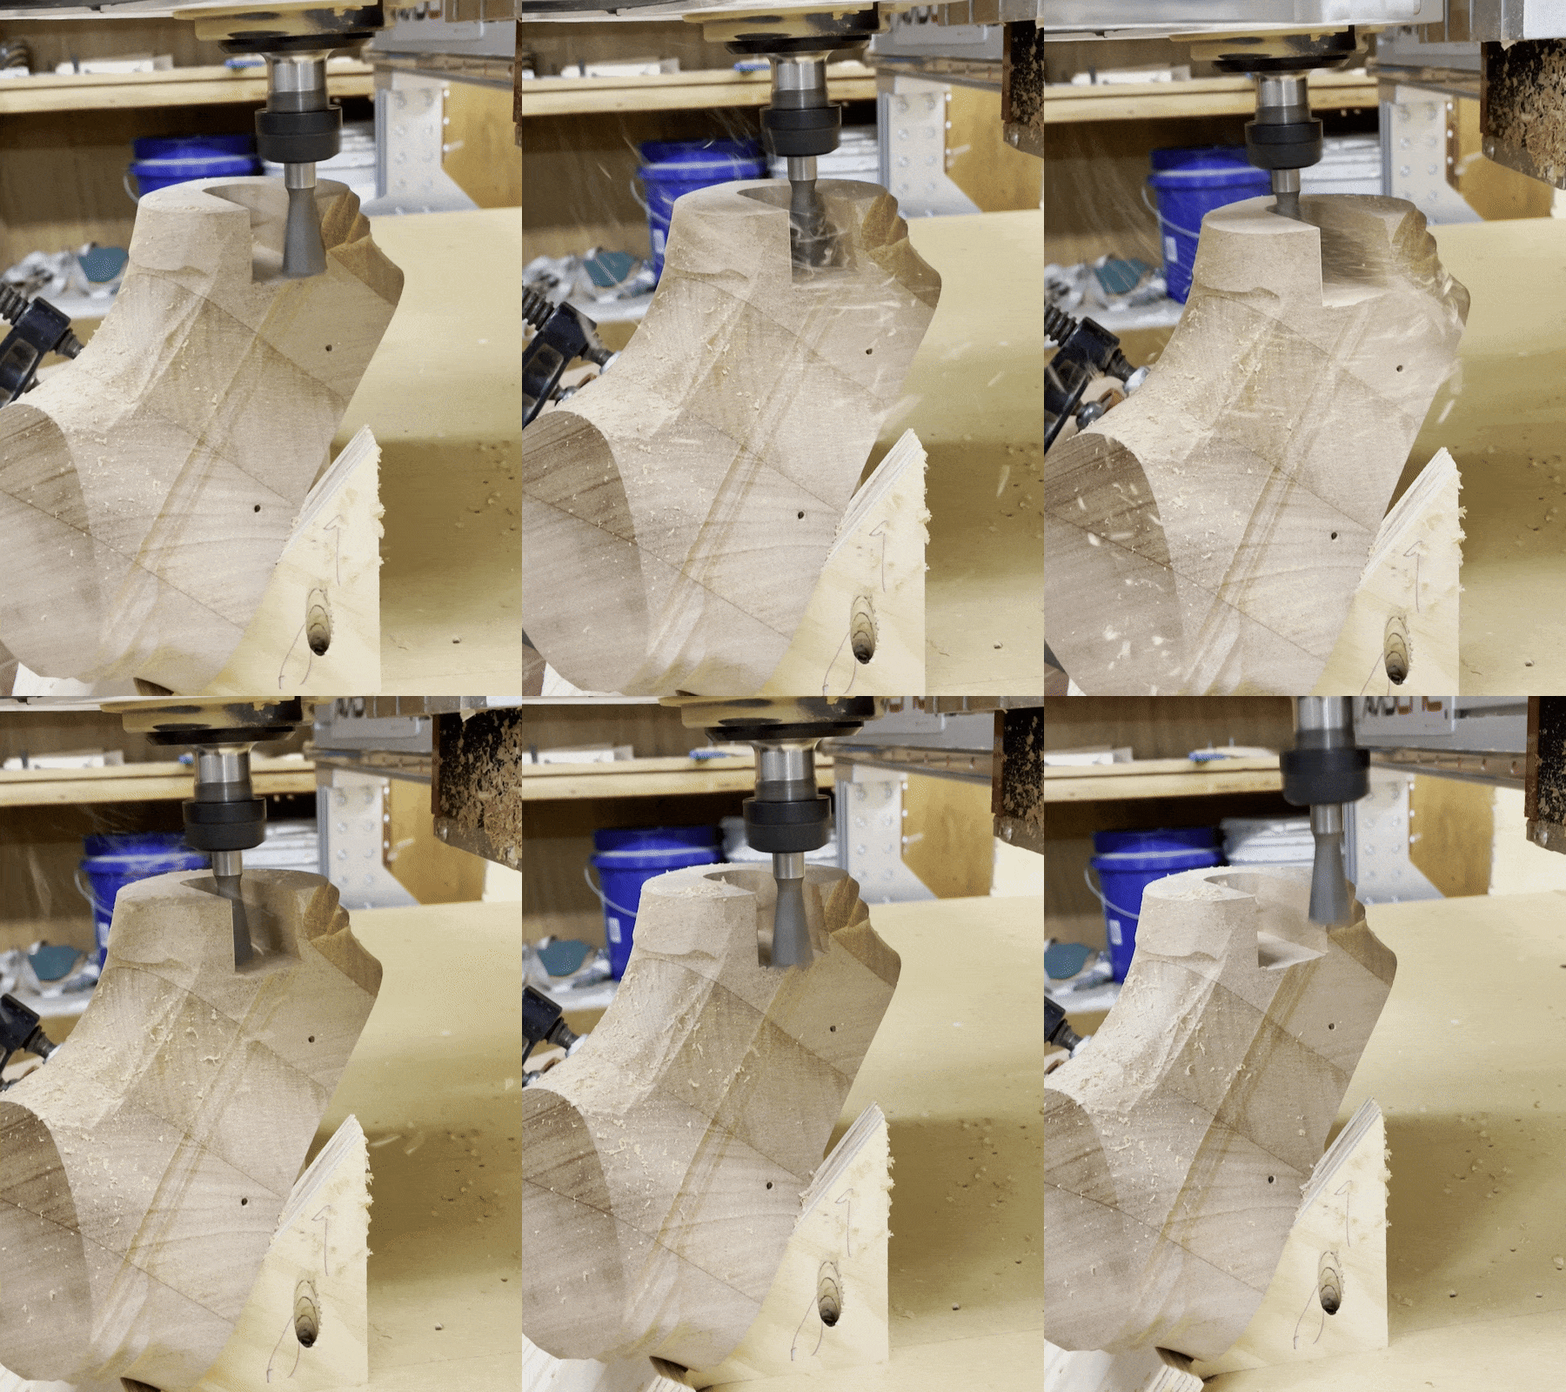
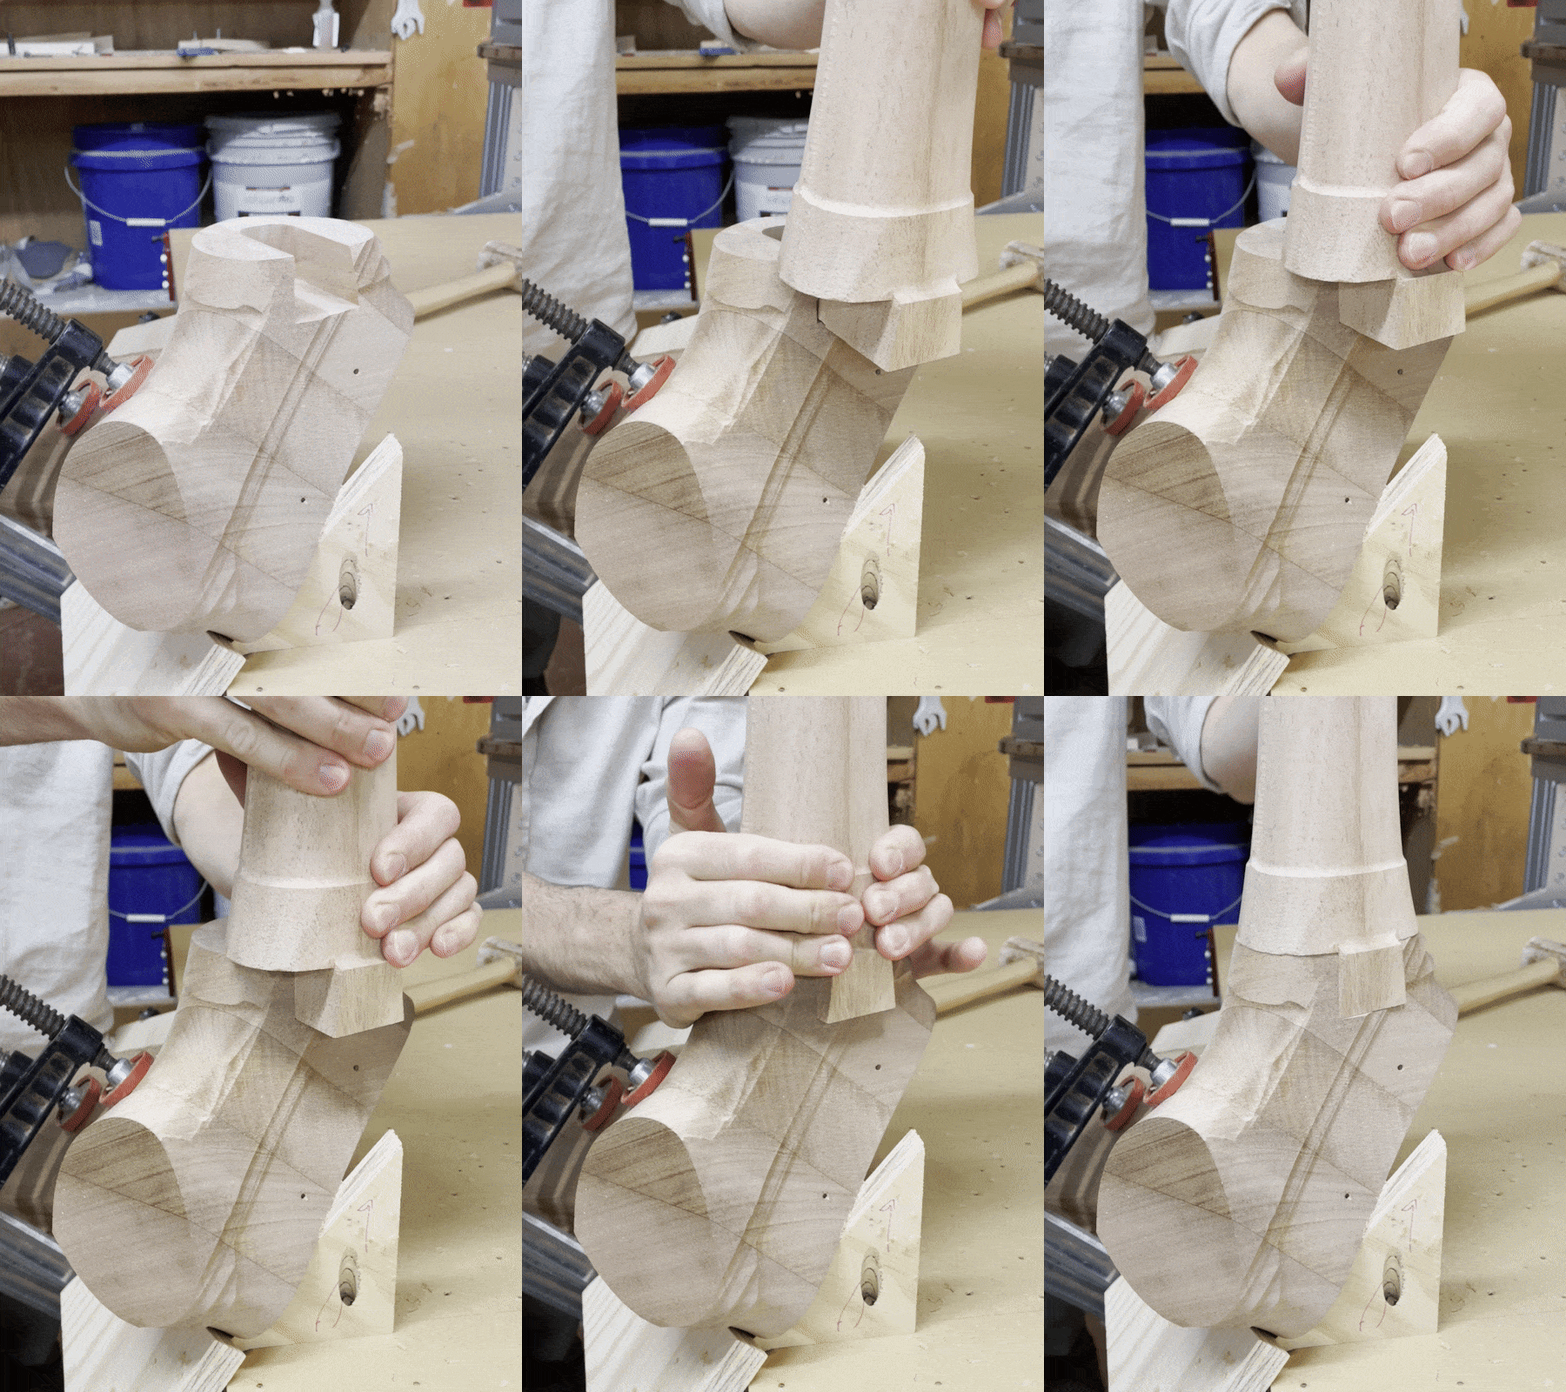
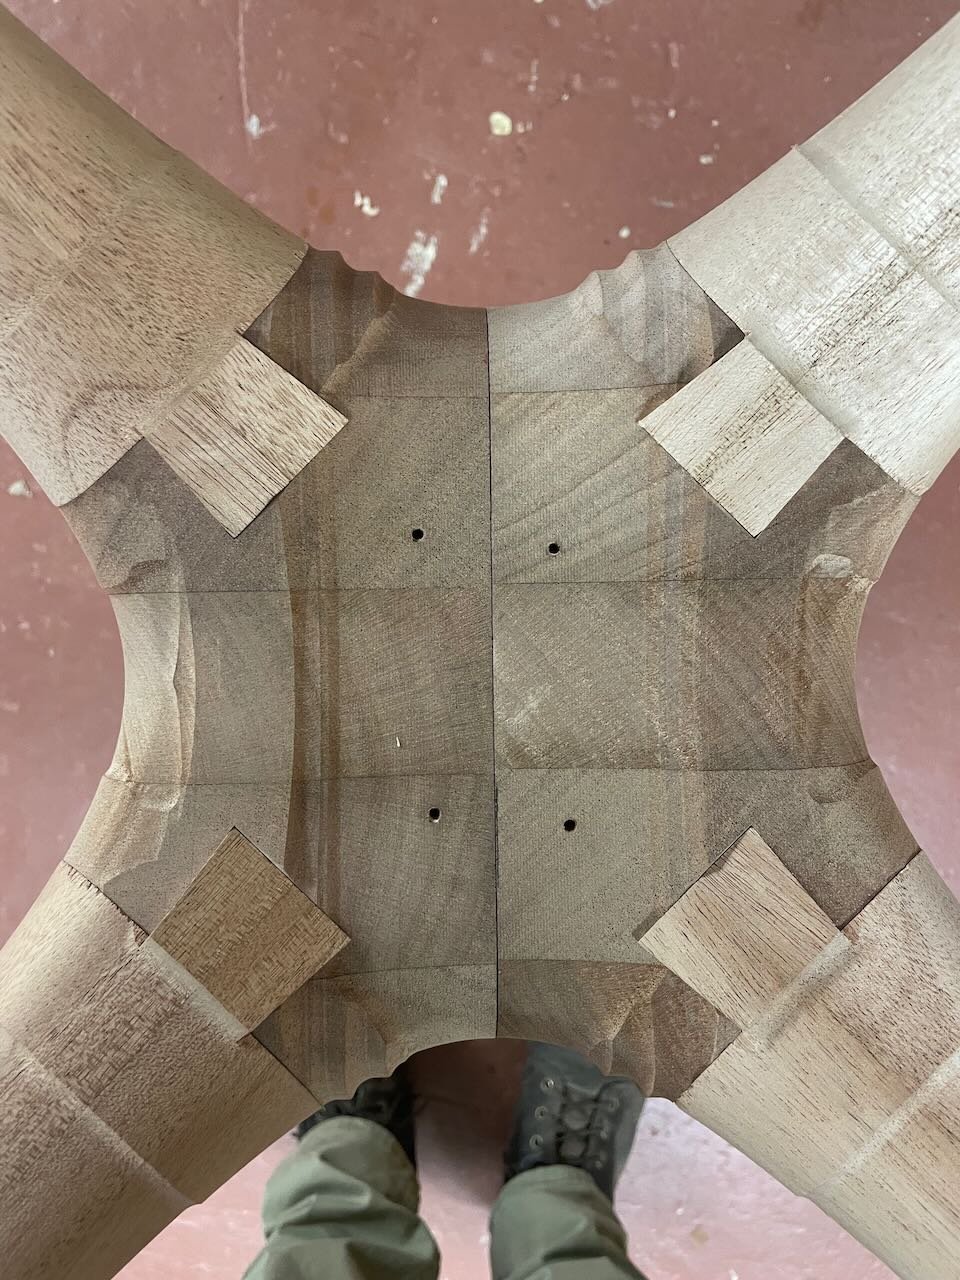
After roughing out all the pieces (which in this case means carving to final shape other than a .0625” sheath of extra material around the joints to smooth out after glue-up), I am ready to cut the sliding dovetail joinery. A sliding dovetail is the only reasonable joint to use here because it is self-clamping and at this point I have removed every flat surface. There is literally nowhere to put a clamp! It is also an extremely strong joint that I know will help ensure these tables last for generations.
Setting up to cut the mortises involved some unconventional hold-down methods, but by using the CNC to make specially designed cradles, I was able to support the pieces at just the right angle to cut accurate joinery.
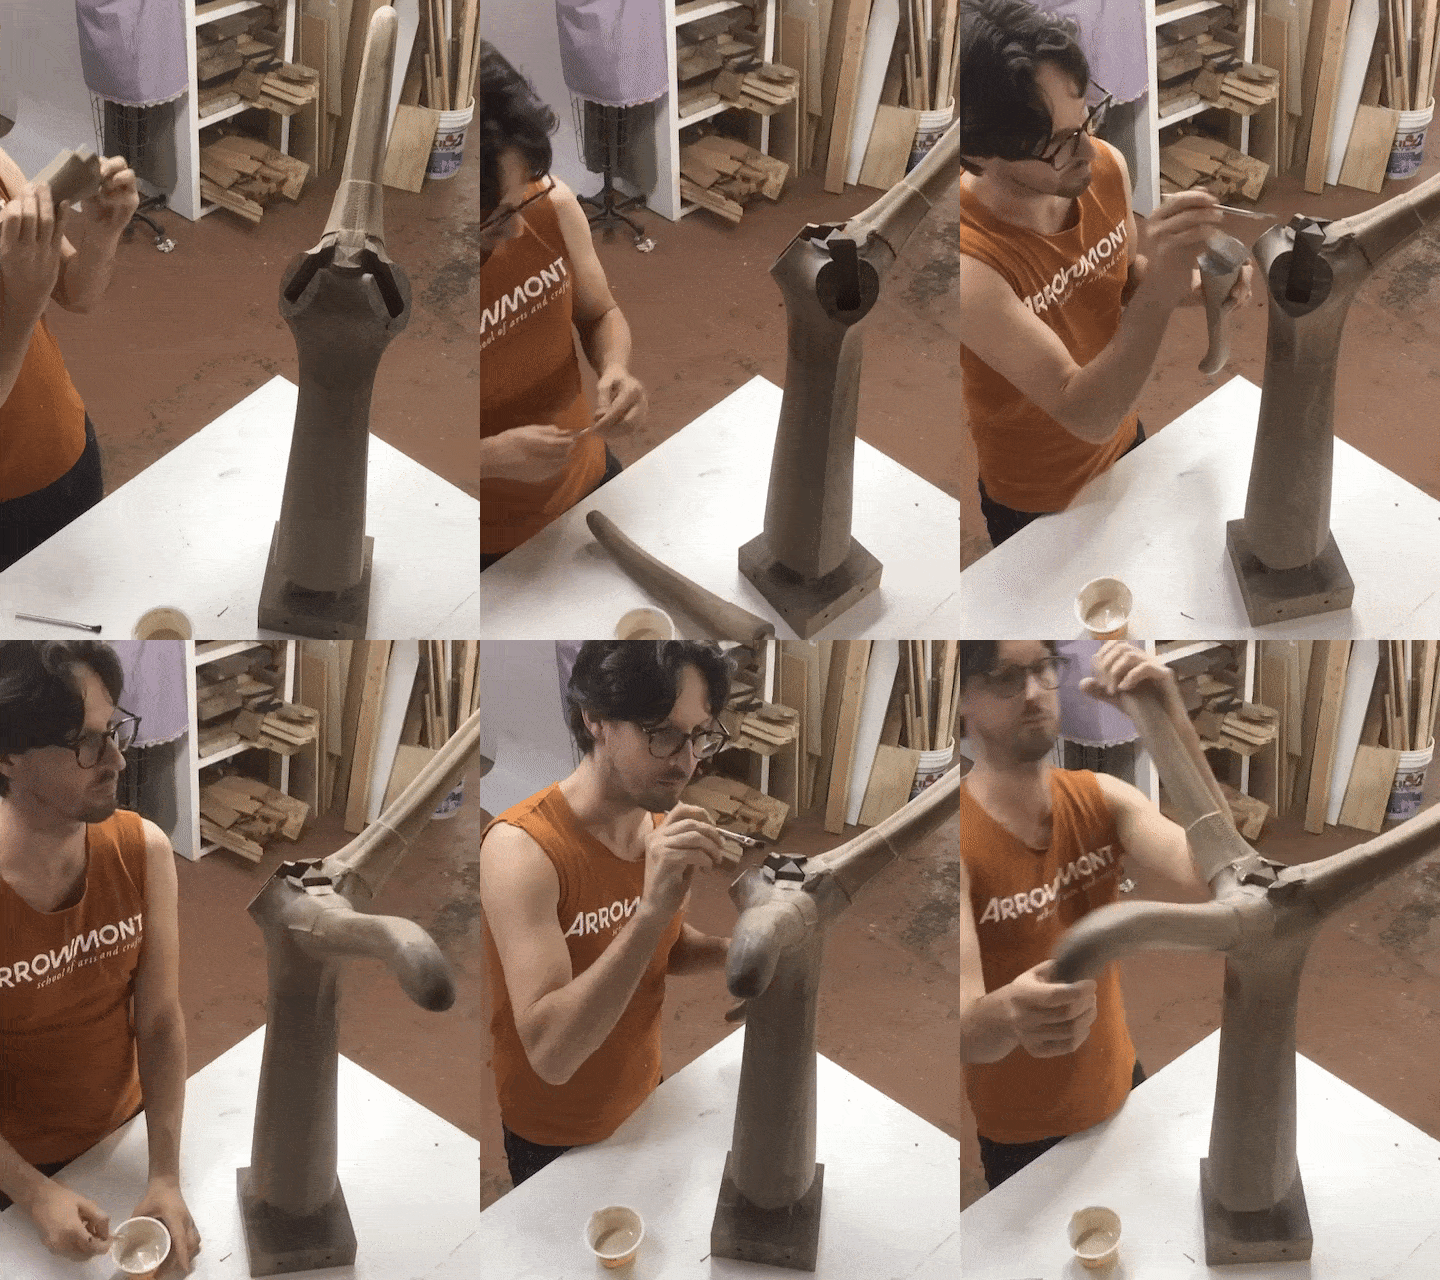
Assembly and final shaping
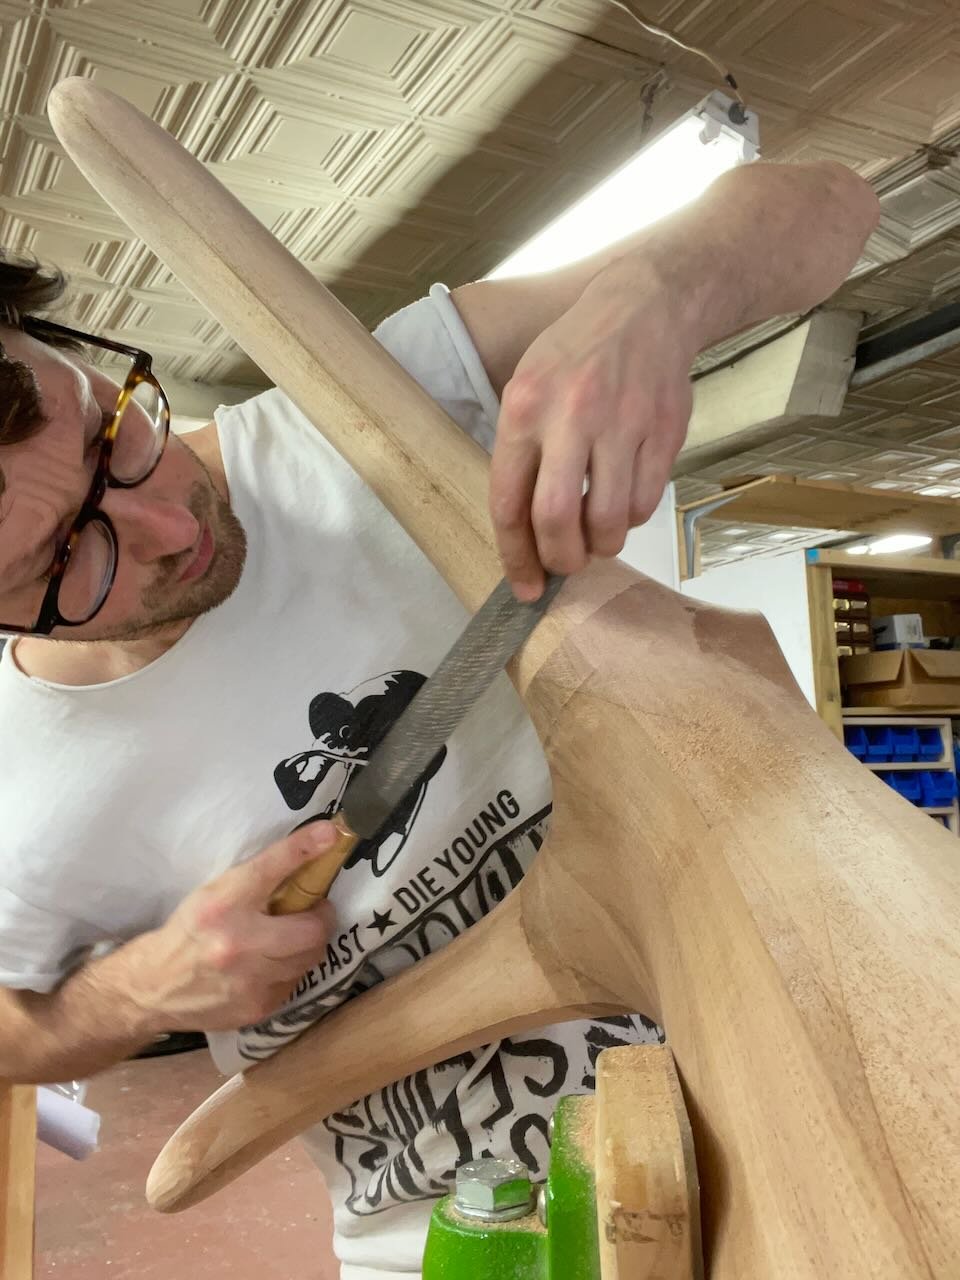
The last step is glue-it all together (honestly, this was a breeze thanks to the precise joinery and self-clamping nature of dovetails). I then used hand-tools to remove the small amount of extra material I had left around the joints and sand everything smooth.
Final thoughts
I was pleased with how these bases turned out in both design and process. This project exemplified much of what I find compelling about digital tools. I was able to create more complex and organic shapes by leaving behind the orthogonal world of flat, straight, and square references. Sometimes using digital processes can feel like you’re getting the best of two worlds: the design possibilities of free-form carving and the accuracy of machining all in one. Of course there are drawbacks, like having to spend many more hours at a computer than actually working wood, but as a maker who is more interested in creating what I imagine than enjoying the process, I’m willing to make the sacrifice. Here are the finished pieces. If you want to see more images of these works you can find them in my furniture portfolio.


